Fades animations in and out using standard ease functions.

Redo Panel
Subframes
Will use subframes (i.e. frames that are not whole numbers) to fade for more accurate results.
Fade Handles
Fades Handle Length (Ease) when X Amt is adjusted.
Fade
- In: Fades the F-Curve from the start of the F-Curve.
- Out: Fades the F-Curve from the end of the F-Curve.
Target
- Center: Fade keyframes to the average value of the F-Curve.
- Zero: Fade keyframes to a value of 0.
- Default: Fade keyframes to the F-Curve’s native default value (e.g., Location → 0, Scale → 1, Rotation → 0). Great for returning motion to a rest pose without needing extra keys.
- Trend Line: Fade keyframes to the trend line between the first and last keyframe.
- Cursor: Fade keyframes to the Graph Editor’s 2D Cursor position.
- Bounding Box: Left: Fade keyframes horizontally to the left edge (minimum X value) of the selected keys’ bounding box using X Amt.
- Bounding Box: Right: Fade keyframes horizontally to the right edge (maximum X value) of the selected keys’ bounding box using X Amt.
- Bounding Box: Bottom: Fade keyframes vertically to the bottom edge (minimum Y value) of the selected keys’ bounding box using Y Amt.
- Bounding Box: Top: Fade keyframes vertically to the top edge (maximum Y value) of the selected keys’ bounding box using Y Amt.
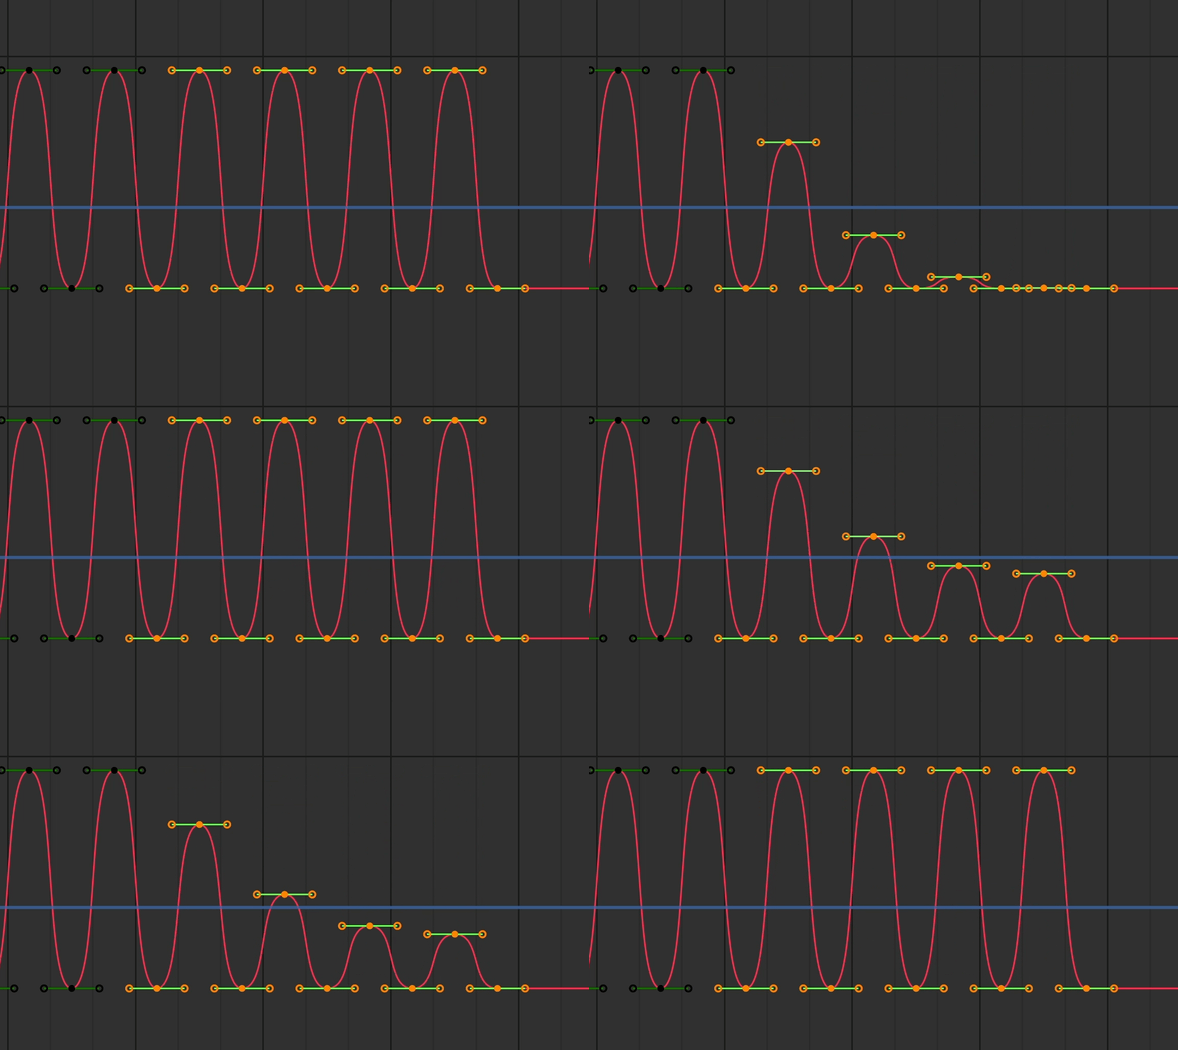

- Zero: Fades keyframes to a value of 0.

- Trend Line: Fade keyframes to the trend line between the first and last keyframe.
Trend Line treats your first and last selected keyframes as anchors and draws a straight line between them. Everything in between is faded toward that line, so your endpoints stay locked while the in-between keys ease toward the final pose. This is ideal for blending mocap segments or softening transitions when you want the end frame to stay exactly where it is.
Default targets the F-Curve’s built-in default value (for example, Scale → 1.0, Location → 0.0, Rotation → 0.0). Use this when you need to fade a motion back to its rest values without setting extra keyframes.
Bounding Box Targets
The Bounding Box targets allow you to compress or align keyframes to the edges of their selection range. These targets use the bounding box of the selected keyframes to determine the target position.
- Bounding Box: Left and Right affect the X-axis (timing) and use the X Amt slider to control the fade intensity. These compress keyframes horizontally toward the leftmost or rightmost keyframe in the selection.
- Bounding Box: Bottom and Top affect the Y-axis (values) and use the Y Amt slider to control the fade intensity. These compress keyframes vertically toward the lowest or highest value in the selection.
These targets are useful for creating compression effects, aligning keyframes to extremes, or creating smoother transitions by pulling keyframes toward the boundary values of your selection.
Mode
- Key Count: Fades the F-Curve by a specified number of keyframes.
- Selected: Fades the F-Curve’s selected keyframes.
Key Count
The number of keyframes used to Fade the F-Curve when in Key Count Mode.
X Amt
Amount of fade for the F-Curve’s keyframes on the X-Axis.
Y Amt
Amount of fade for the F-Curve’s keyframes on the Y-Axis.
Ease
Specifies the easing function by which to fade the specified F-Curve keyframes. Linear will fade the F-Curve values from full value to 0 with a constant fade. ‘Expo In’, for example, will hold the values closer to full for longer (good for lighter objects), while ‘Expo Out’ will lose the values almost immediately (good for heavier objects).
Ease Axis
- Both: Use easing function on both axes.
- X: Use easing function only on the X-axis.
- Y: Use easing function only on the Y-axis.